
100,000 WELCOMES!!!
Yippee! Today is my day to share with y'all the project I thought of to reflect a part of me.
First off, I'd like to thank the hostesses that set up this terrific Blog Hop. Linda of Buzzing and Bumbling Blog and Madamme Samm from the Sew We Quilt Blog, both are super talented ladies and so organized to host this and cultivate all the lovely talent that has been shown. This project came to be because of your inspirational thoughts on hosting this hop. Thank you Both!
How it began is when I noticed on Linda's blog an invitation to join in a BLOG HOP about In Your Own Words and I put on my big girl panties and pledged that I'd participate in my first ever hop!!!
Over the years many words have found there way onto my projects in different ways. Since one of my desires this year is to focus on my PROGRESS. Progress with my life, crafts, learning, maintenance of myself, home, family, friends, reading, beading, and practice them all routinely. I knew this hop was a synchronistic opportunity for me. While thinking of the many different ideas of what to make or which word(s) to convey, I mentally completed many and then ruled them out just as quickly in the next breath. There were many words floating around in this lil' old head of mine while trying to figure out which project could be done, be unique, besides something that would share a bit of my WIP self with you at the same time as hopefully make something that was on my HSY list. (HSY stands for hasn't started yet.)
Since I love to decorate different monthly themed runners, wallhangings, pillows and such around my home through out the year, a table runner for my antique refrigerator in the dining room would do nicely. Reading through my Creativity Journal from a time period of about 5 years ago I wrote, "Make a green scrappy tablerunner" an ahhh.. haa... moment came and I knew what was meant to be.
An Irish Table runner! Because of my Irish Roots from my Dad's side, I've always loved anything Irish. I remember as a little girl, my Dad singing to me, "When Irish Eyes are Smiling" and feeling safe and totally loved. This project needed a word conveying my Irish nature. Thinking that it should be in Gaelic I started searching Google to see which Gaelic phrase would be best as well as doable. I didn't want something with too many words and I also wanted something recognizable yet unique. That's when I stumbed across Céad Mile Fáilte, A Hundred Thousand Welcomes and knew, that's it! Thankfully, our home is busy with many visitors, both friends and family stopping by often and we love welcoming each and every one.
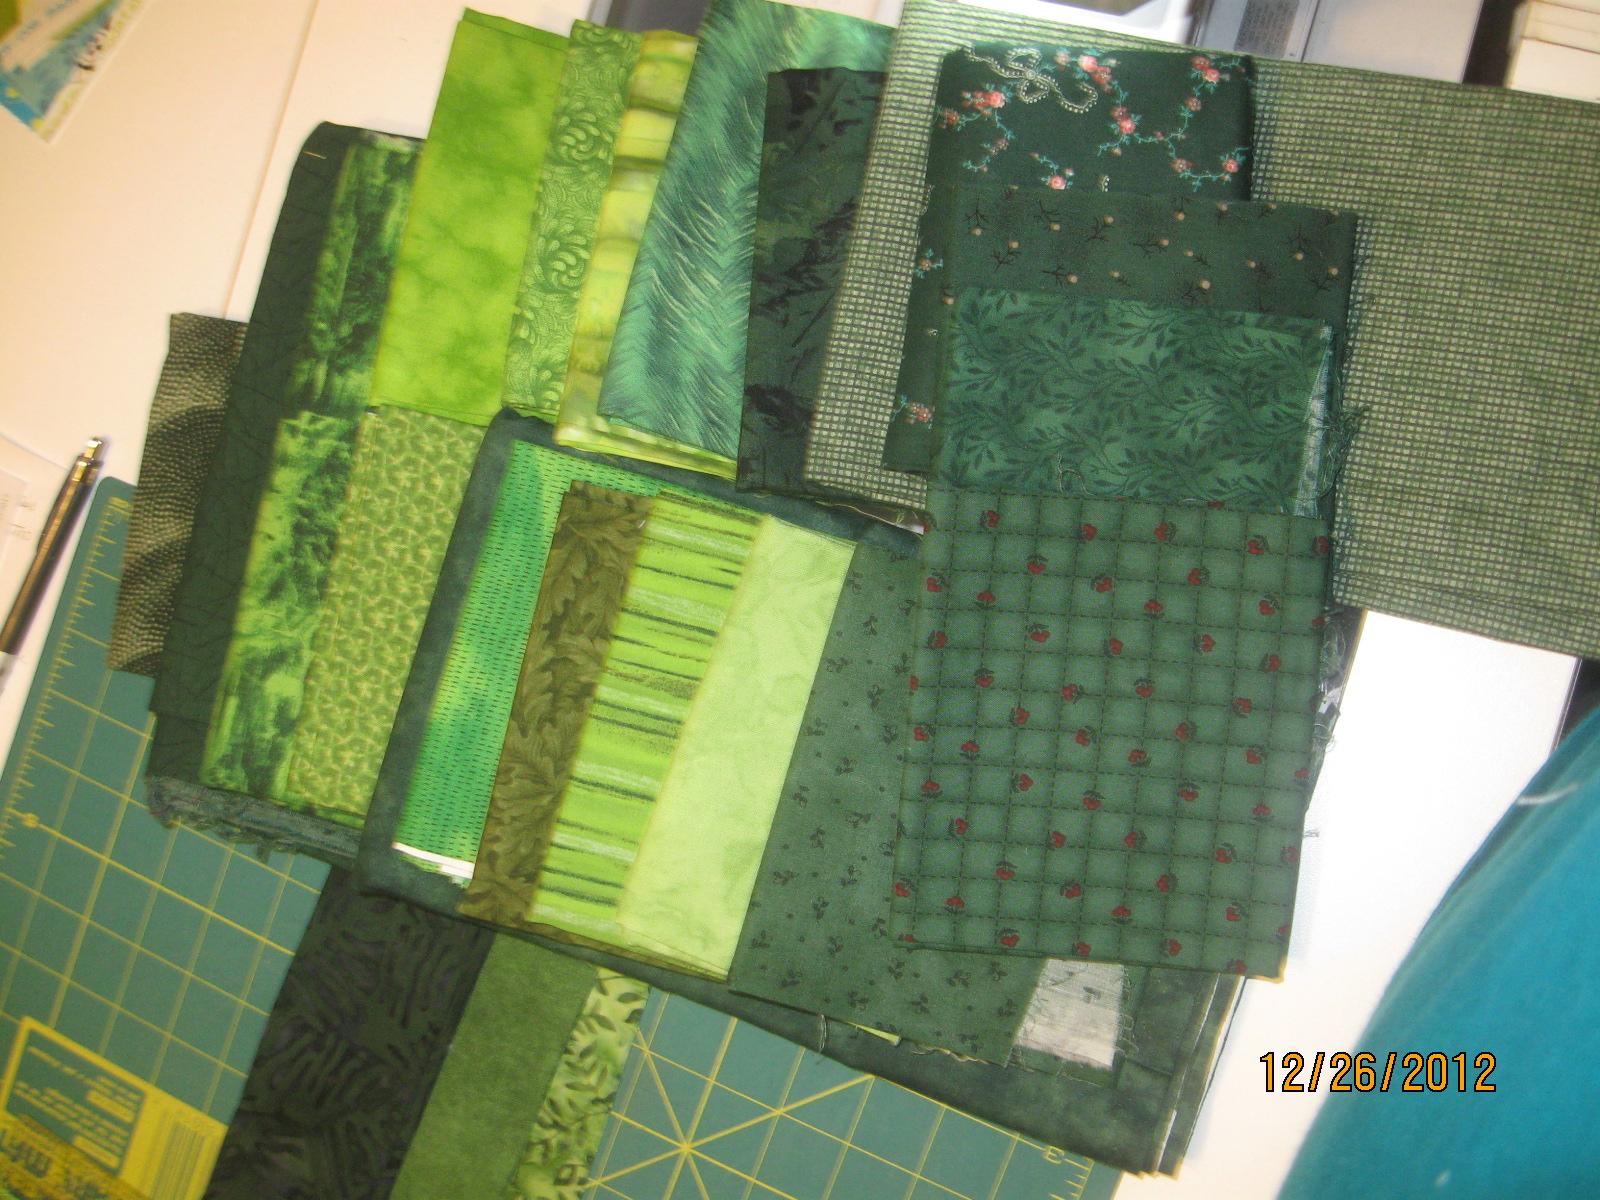 So into my little studio I went. Going through my stash of greens pulling out the hues/prints/tones that appealed to me and then rumaging around the cream section for a little contrasting pinwheel accent I envisioned going through
the 40 shades of green rails. lol PAY DIRT!
I just happened to have in my stash a perfect cream, a tone on tone print with just a hint of peach, but it also had gold sparkles going through out it for those pinwheels besides using it for the background of my word. Now I'm thinking leprechaun, pots of gold, lol, I know I know, I need help!! Anyways, I did a little test of my idea of using a magic marker on a small 4" x4 " piece o' that cream metallic sparkley fabric to make sure the color stayed colorfast and could hold true without bleeding. It did.
Little tip: Always try out any markings on a small disposible sample before writing it on your project! This will check if it can stay if wanted or be able to wash out if needed.
 Well, to get that word on my fabric I used Microsoft word and typed the Céad Mile Fáilte phrase about 10 times. Then I played with the different styles and sized fonts, trying to get the look I knew in my head but couldn't find in my available type fonts. After reviewing and auditioning the printed out words for several
Then it came to me, I could always use one of the larger size 92 in theTempus Sans ITC font that was the closest look for my pattern, draw it on the fabric using it as a guide. Afterwards it could be embellished in ir's style wherever I thought it needed to be.
I used a glue stick to hold the pattern guide and fabric together after centering both the fabric and the paper guide. {Thanks Linda for that tip about GLUE from the hop about quilting tips! I used to use pins but this was much easier!!!}

I laid them on my Sand Board so it couldn't slip then traced the words with a regular green permanent marker to outline the letters and colored it too. In my mind it looked good but still wasn't done. (This is my usual trend of thought, add a little bit more of this and perhaps more of that...... until typically it gets shelved as a UFO. I am trying very hard to overcome this trait. Making myself work through these rough spots and just get things done!) Sorry... I digress.
When it was totally colored in I used a hot iron to set the color several times.
After pondering some more, figured that I'd embroider around all the letters. Using a DMC Rayon thread (it has a lovely sheen) of a dark green # S501 that BTW, that actually matches the color of the dining room curtains, I started embroidering using a back stitch with all 6 strands of thread on the first letter of each word. This gave the capital letters a bolder and more dramatic appearance. I always use an interfacing fused onto my cakground fabric when stitching, it eliminates the shadow effect if youcarry a thread a little ways on the backside, but most times, I don't carry.
I'm happy now with this but wondering what to do for the smaller letters? Six strands of thread on them will look awkward and chunky. Wanting it to be organic in form but not defective is you know what I mean. Also what if the green marker fades with washings and the years of service besides setting near a window with the UV rays shining in, how will this word hold up?
My answer: "I'll embroider around every lower case letter too but use 2 strands of floss instead and use a stem stitch to change it up." YES, that's it!!!!
They'll be outlined so something will remain, but won't compete with the capital letter of each word. I'm happy now that it's coming to fruition. At this stage it is now Saturday night at 9:10 pm and I just finished the last letter.
That rayon DMC was tricky to use since my skin on my fingers are chapped and my thunb is iterally torn up and keeps fraying a bit of thread every once in a while. Yes Rayon is that fragile! Band aids helped cover those areas so my thread would hold up without shredding. I Looked hideous and ridiculous while stitching this but it got done.
With that end embroidered I now thought, what now? It needs to be balanced and another embroidery needed to be made for the other end, perhaps Erin Go Bragh (this means Ireland Forever). How ever will I get 'er done in time to share early Monday morning?
Bobbin work!
So I wound up some of Superior Threads, Razzle Dazzle thread onto a bobbin to create the phrase Erin Go Bragh. I did that like I stated on the first section but did a mirror image print out then traced it onto the paper side of fusible interfacing. Fused that with the background fabric and went to work stitching very carefully. The worst part of this was getting all of those thread tails to the underside and tie a little knot after stitching each letter. Ahh, sweet Success! Next, onto my piecing.
To make the blocks for the runner, this is what I did:
(All of my photos can be enlarged to see the details better.)

To make the green fields I sewed a cream 2-1/2" square onto a green 2-1/2" X 6-1/2" Brick. Marking a sewing line diagonally in the cream square and sewing them in a half square triangle configuration with right sides together. See photo at right.

Assemble 3 bricks together into your block. This consists of 2 bricks with the HST ends laid on opposite sides with a plain green unsewn brick laid in oreo cookie style in the middle. Make sure you have your HST placed on the block in the manner shown or you'll get a diamond center instead of a pinwheel spin when 4 of these blocks are sewn together.
The pink fabric used here is just because of it's high contrast to the block's colors.
The pink fabric used here is just because of it's high contrast to the block's colors.
 |
| The pink fabric is just contrast - to show how those units will spin if laid out correctly. |
Lay it out to be sure the orietation of the HST bricks are spinning around like a pinwheel. Make as many of these as you need for your finish. I made a total of 16 blocks for this runner.
While working on this I actually thought a quilt in this pattern would be easy and fantastic. I'll probably get to that in another 5 years or so,
just kidding!
Sew the blocks together using an alternating direction or a basketweave style. Another way to phrase this is to have a vertical block next to a horizontal block, etc... never have two blocks with the same orientation next to each other.
I pressed seams open to alleviate bulk.
Center, measure, measure, and MEASURE then cut the embroidered panel to size. I cut the 2 of mine 5" x 12- 1/2" each and then sewed to the ends of the runner.
 |
| Hand embroidered phrase with Rayon Thread and colored with a green permanent marker |
This was so long and skinny that my photos didn't look right when I snapped a shot of the whole thing in one photo. To show it I snapped several shots so you see all of it via different frames. There are 4 pinwheels in the center of this runner with the ends in that cream finish. It should look great with that mottled green print shown on the bottom, second one from the right.
This project was so much fun creating and want to thank Linda and Madamme Samm again for inspiring it's design.
All that needs to be done is to press, layer, quilt and then bind it.
Piece o'cake!
 |
| "Bobbin Play" work for the embroidery with the binding fabric shown underneath |
Here they are:
Buzzing and Bumbling (Linda W.)
Gracie
Oliver Arts (Jeanie)
Clothes and Crafts (Maria
K.)
Cherrys
Prairie Primitives (Cherry E.)
Simple
Sew (Shirley T.)
Woolie
Mammoth (Anna B.)
RocknQuilts (Mary Ann)
Celynn's Sunflower
Patch (Celynn)
A Quilting Sheep (Amy)
Sane and Crazy Quilting (Cathy
L.)
Quiltsmiles ( that's ME! )
Feathered Nest Studio(Jennet)
- Thank you so much for stopping by and checking out this lil' bit o'me. I'm now enjoying a cup of tea while I resume some of the housework duties I've neglected while I've been creating! VBG!!!
Make sure you try to visit the other quilters sharing their projects on Day 6 of the In Your Own Words Hop aka Wordey Journey. lol
Jane
PS: If you're interested you can hear the correct pronunciation and learn more about Céad Mile Fáilte, A Hundred Thousan Welcomes at these links. Once again, 100,000 welcomes! and thank you for stopping by.
PPS: I even thought a Ransome note styled letters in a phrase could sum me up too since most times I can get so scattered with all the time snatchers kidnapping around here! Though I always find Joy in my journey along the way, but that will be in another project on a different day! Perhaps that kindle bag I'd like to make with a pocket for the cord......


